Table of Contents
Cyberoam Basics
Cyberoam Cheat Sheet for the GUI
Configure Cyberoam using the Wizard
Cyberoam Wizard
Prior to configuring the Cyberoam you need to decide if you would like to use the Cyberoam in BRIDGE mode or GATEWAY mode.
In BRIDGE mode the Cyberoam can be transparent except when using the Captive Portal.
- Traffic will pass through the cyberoam depending on firewalls rules used.
- Network Address Translation (NAT) is not needed
*recommended
In GATEWAY mode
- The cyberoam will do the routing between networks
- The cyberoam will need to NAT traffic
Cyberoam Configuration as Captive Portal
After the MODE had has been chosen, to continue configuring the cyberoam for use as a captive portal, follow the following steps. These steps will bring the cyberoam up in bridge mode, and have the captive portal working. (Minimal Configuration)
Configure Time and NTP
To keep reports that are sent to satNAG in the same timezone, please set the cyberoams to UTC.
- Time, Timezone, and NTP a quick guide.
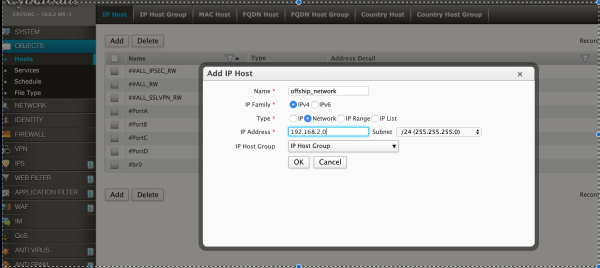
Configure Networks
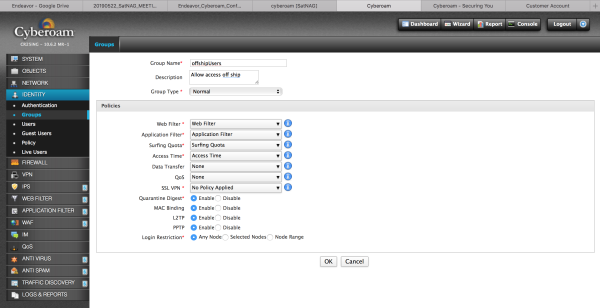
Configure User Group
Identity→ Groups→ Users
create offshipUsers
This is where you would assign Web and/or Application Filters to the Users. Add a couple of users; Identity→Users→Add
It is helpful to use the same syntax you would use for adding users to the ship email system or LDAP or RADIUS server, when adding the users assign them to the group offshipUsers created above.
Configure Firewall Rules
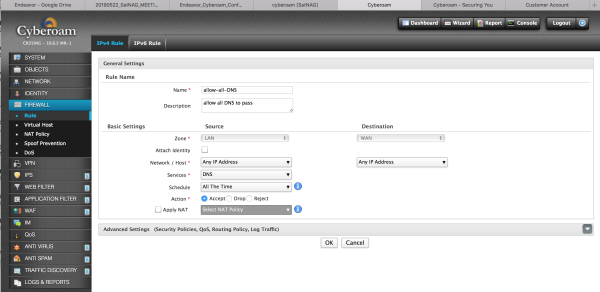
Firewall→Rule→ Add
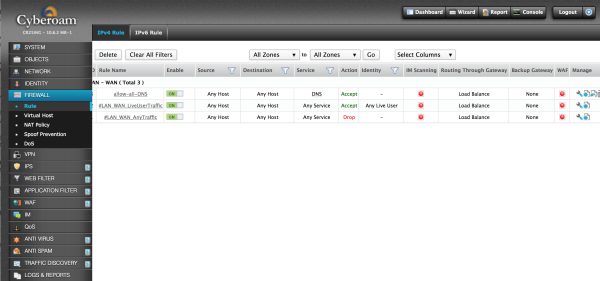
create Rule to allow all DNS
Depending on where your DNS and/or DHCP server reside, you will probably want to allow all DNS and DHCP traffic to pass through the device


